

Aston Martin Confirms Newey Signing
Decorated Formula 1 designer Adrian Newey confirmed to join Aston Martin after Red Bull exit...

New FIA Formula 3 Car Unveiled for 2025 Debut
FIA unveils new Formula 3 car that will debut in 2025 season and is valid for three years...

The Challenges of Racing on a Brand-New Track Surface
Pirelli's chief F1 engineer explains the impact of major resurfacing work at Monza...

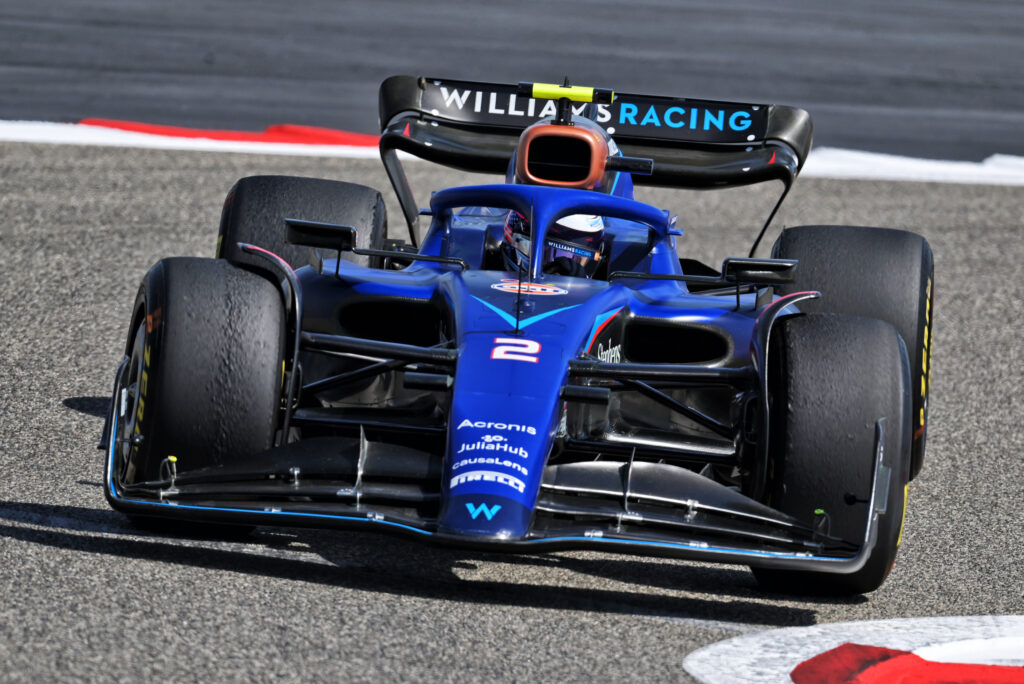
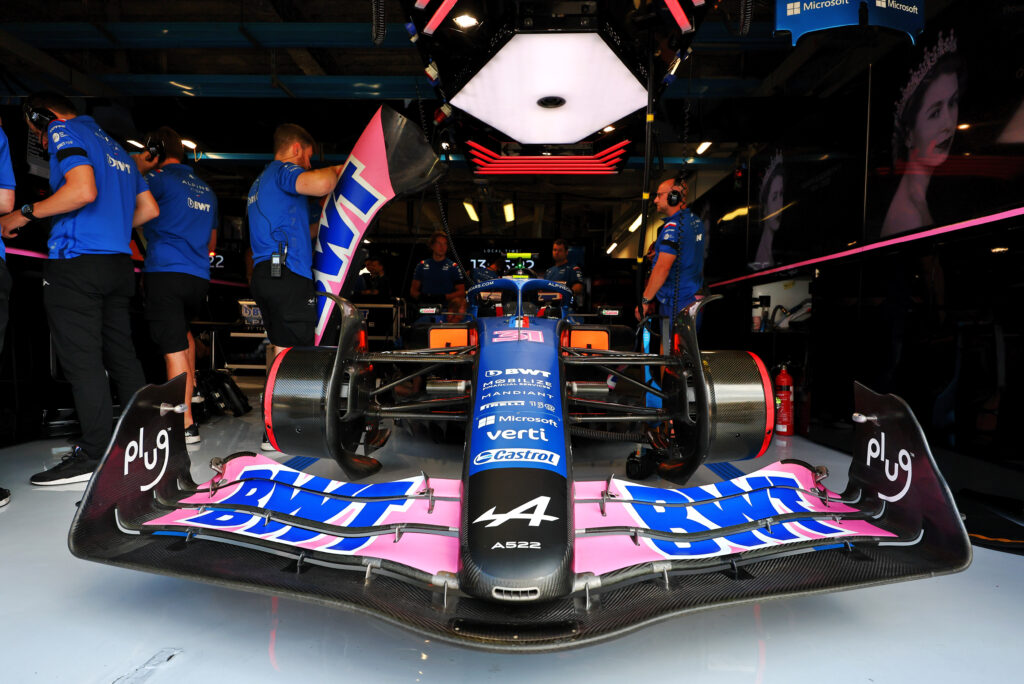
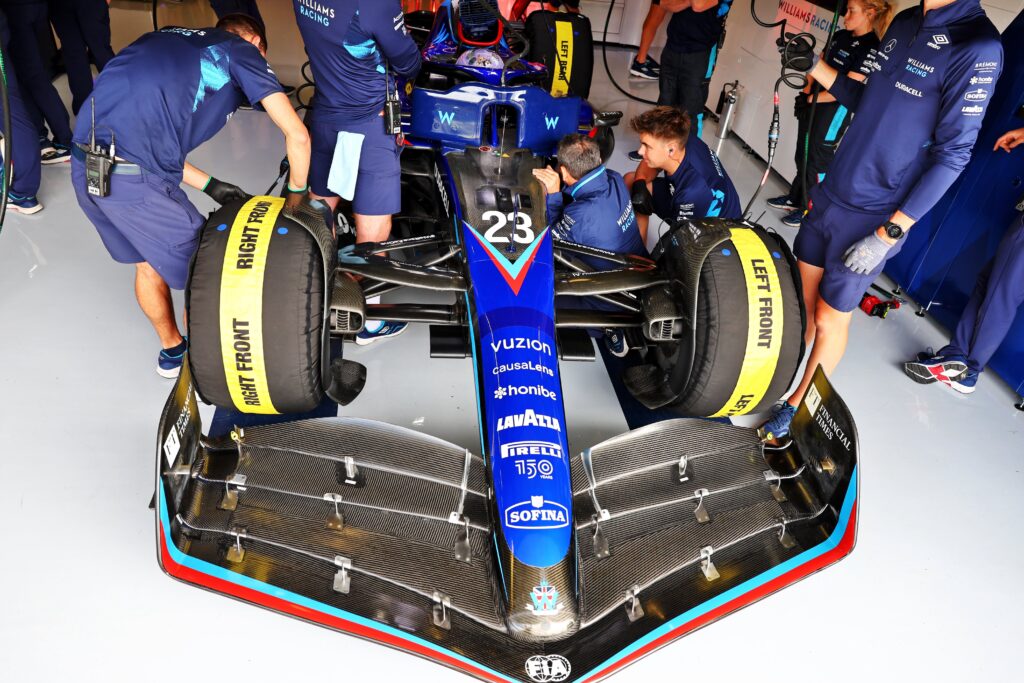
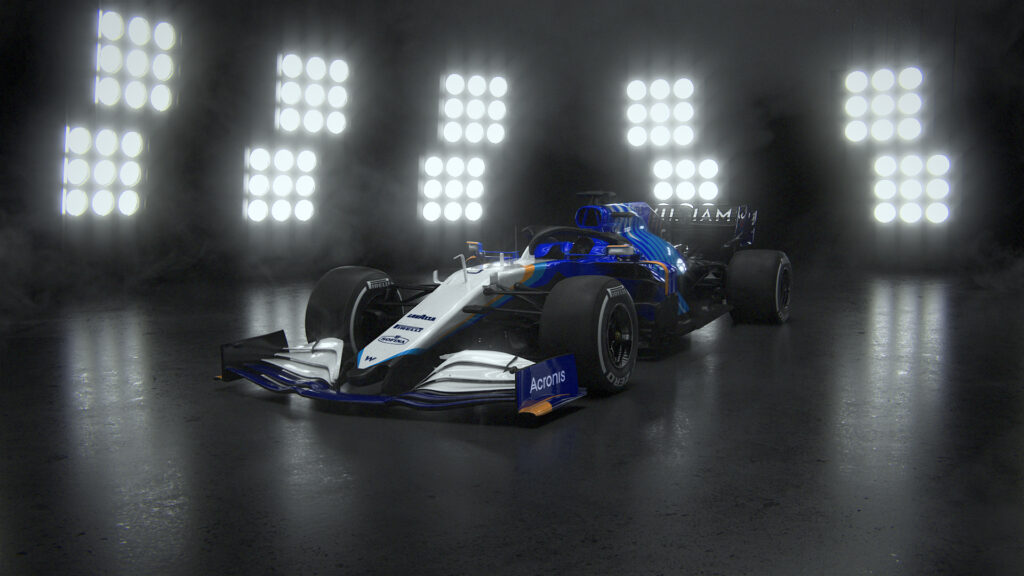
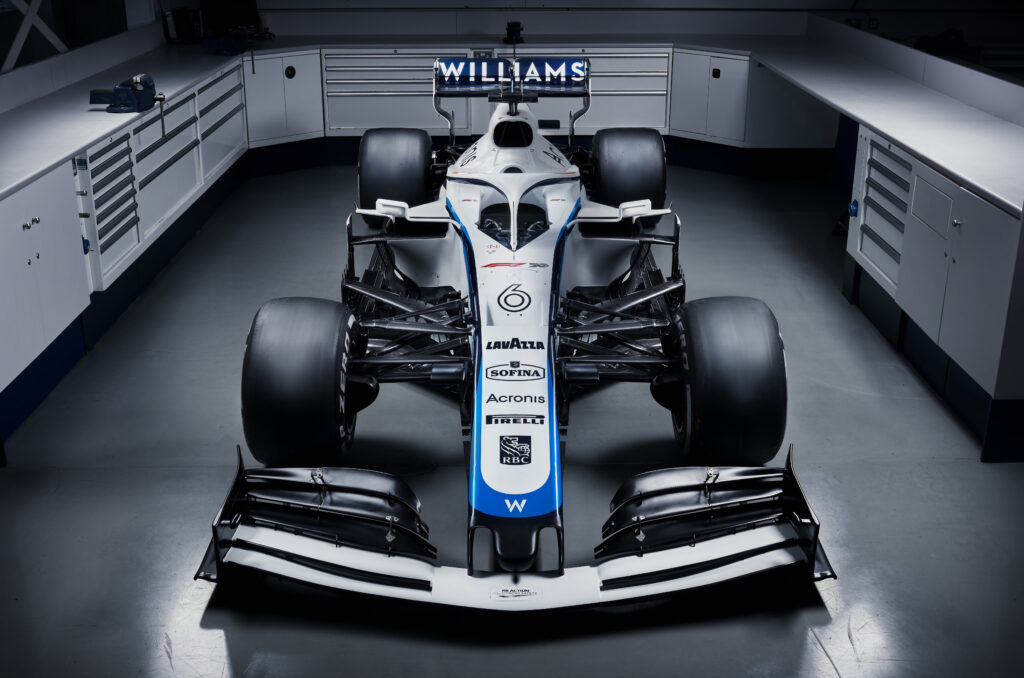
How Williams Responded to Albon’s Zandvoort Qualifying DQ
Williams Formula 1 team principal James Vowles has explained how the team responded to one of its cars being disqualified from qualifying for the Dutch Grand Prix due to a rearward portion of its...

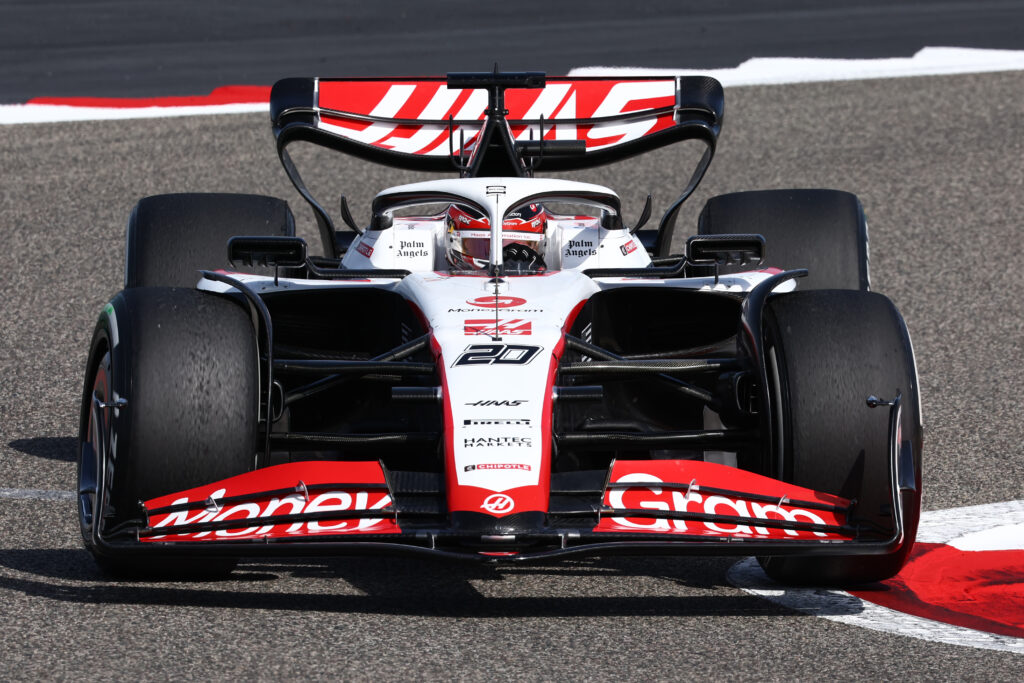
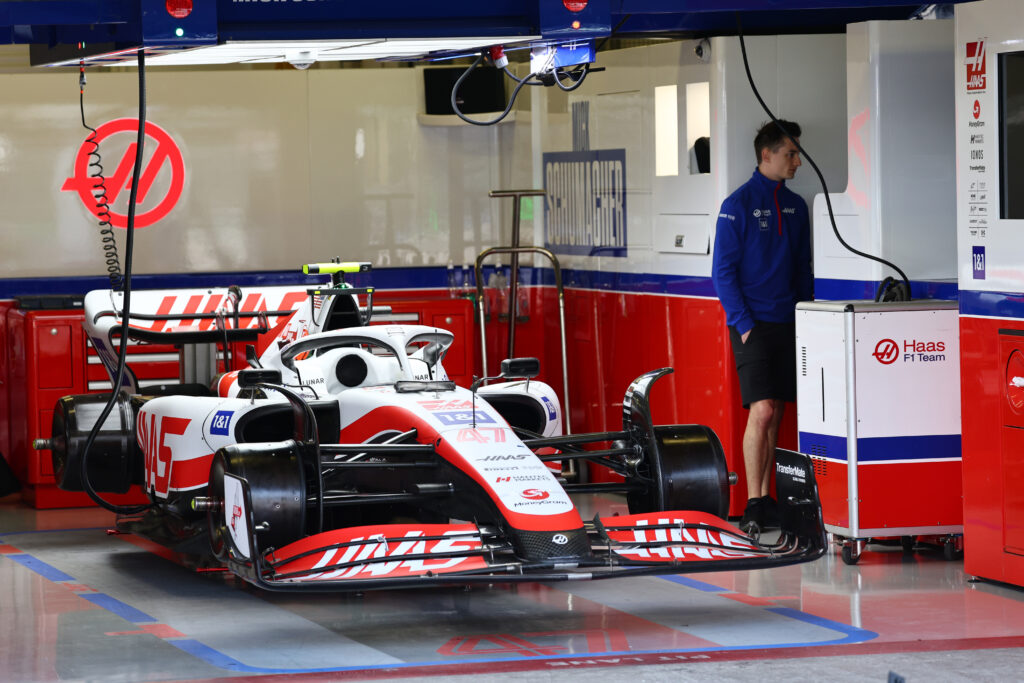
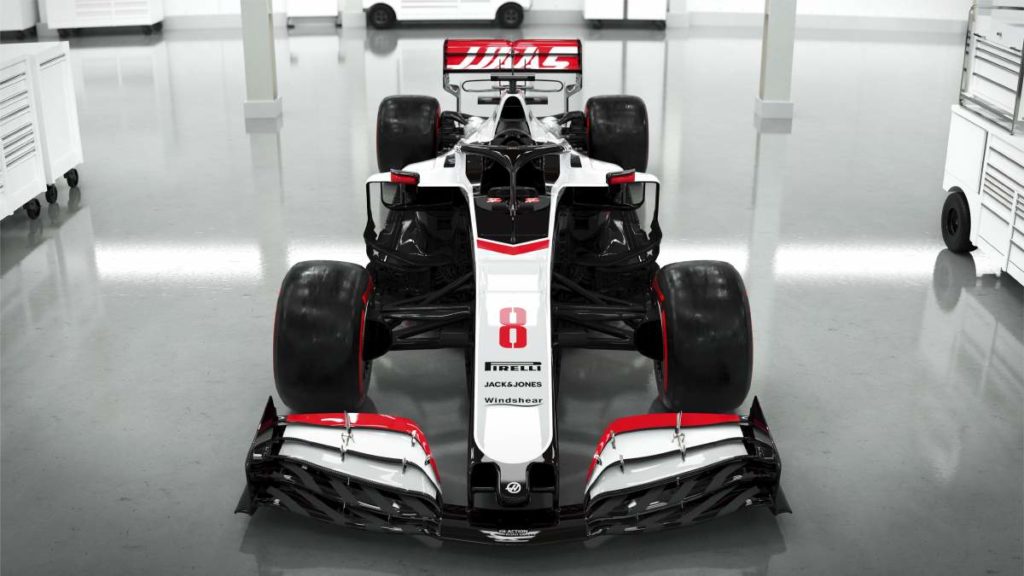
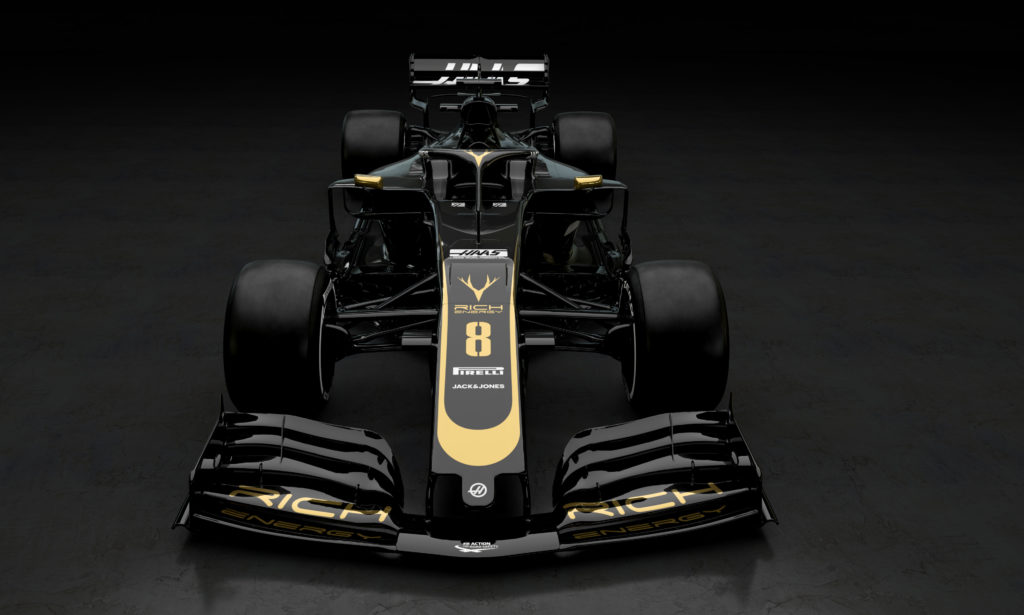
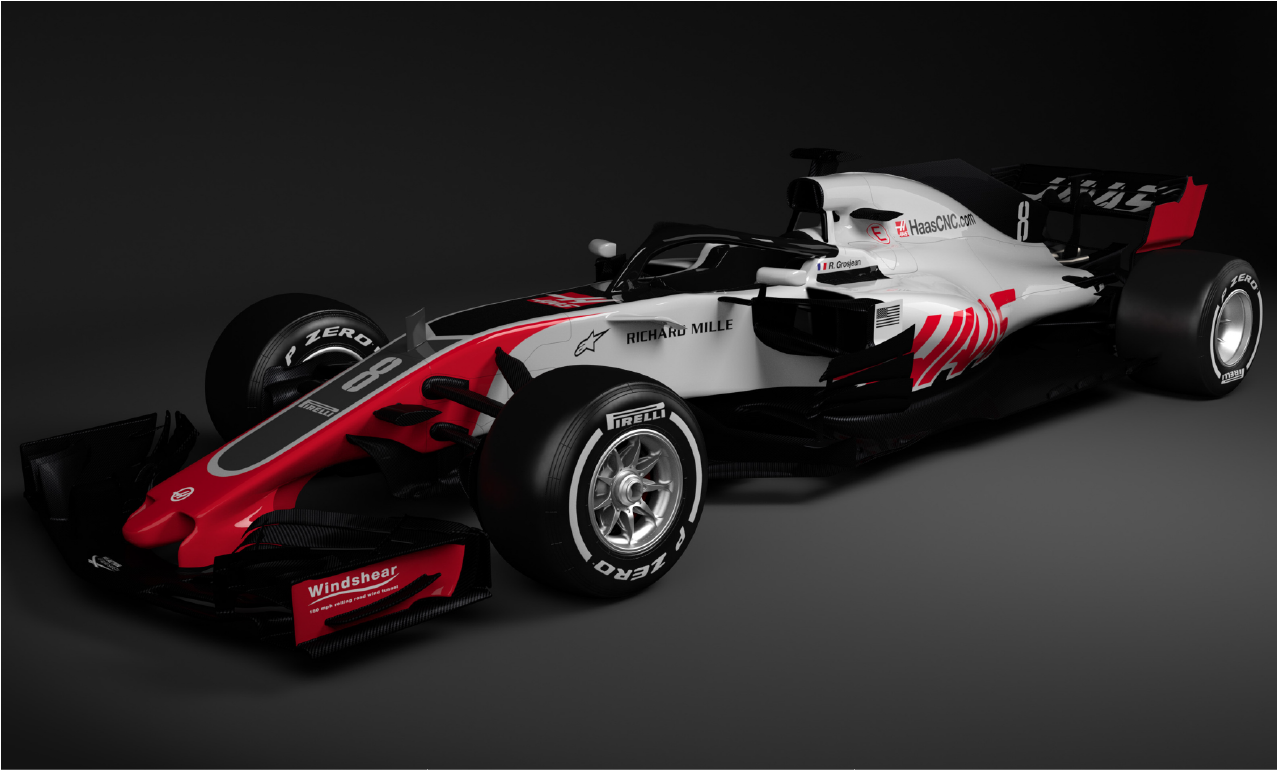
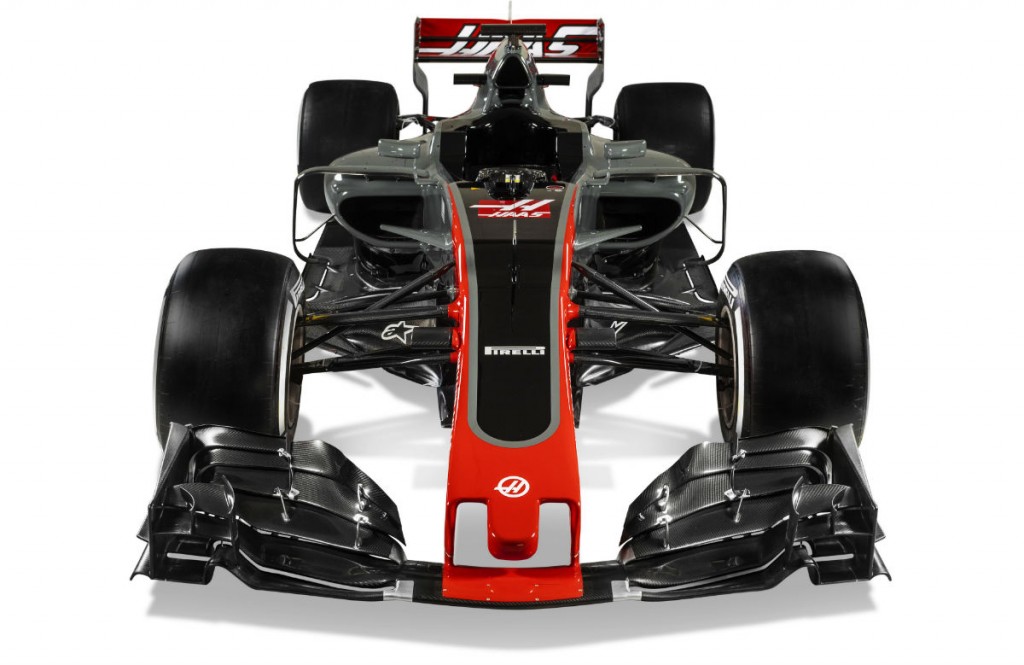
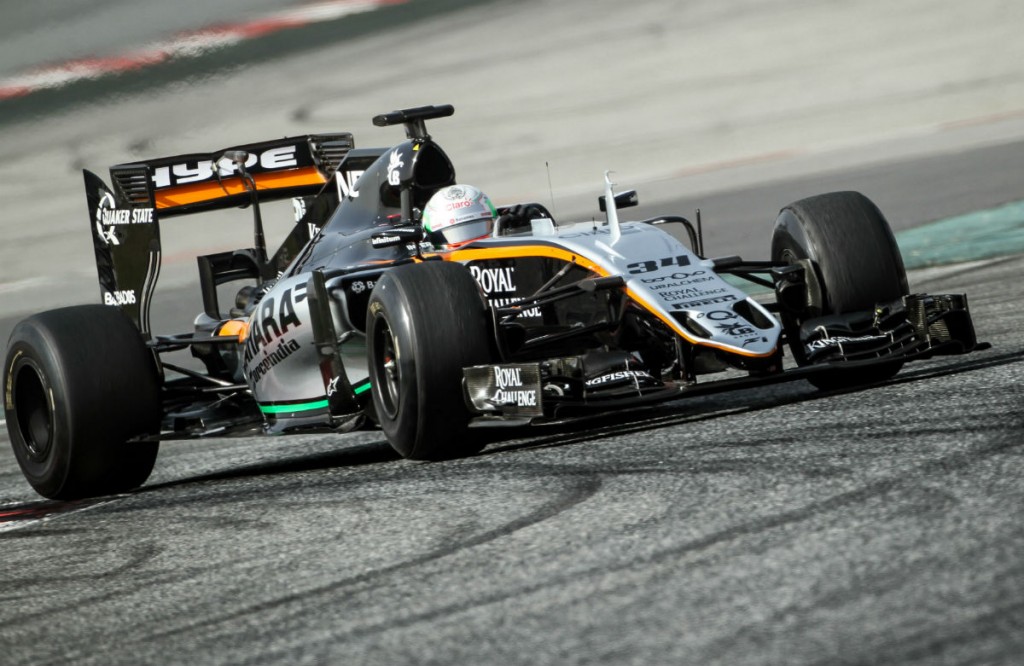
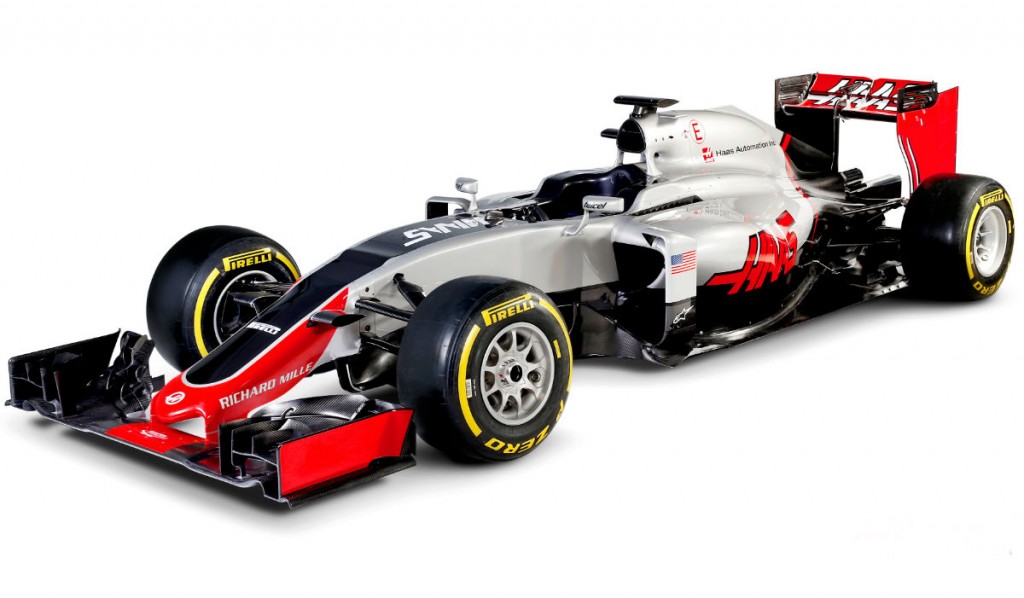
Haas Plots Further VF-24 Upgrade for United States GP
Haas is targeting a further Formula 1 upgrade package for the VF-24 at the United States Grand Prix in Austin, echoing the timing of its biggest update last season.
While the development is set to...

Inside the Role of an F1 Simulator Driver
Aston Martin F1 simulator driver explains what goes into this important background role...

How the Formula 1 Halo works
In the world of Formula 1, driver safety is paramount. After the crash of Jules Bianchi at the 2014 Japanese Grand Prix, a new safety device called the ‘Halo’ was introduced to improve driver...

How do tyre blankets work?
The subject of preheating tyres is, ironically, a hot topic in the run up to the Centenary Le Mans 24 hours, the cornerstone of the FIA World Endurance Championship (WEC). As part of the...

Technical Implications of Red Bull Powertrains and Ford F1 Partnership in 2026
F1's 2026 power unit regulations will majorly change the current regime. Here's a technical insight into the 2026 regulations and the part Ford will play in joining Red Bull Powertrains.

How Data Works in Formula 1
Mercedes Formula 1 explains how electronics, systems engineering, and data work in F1 and the relevance of each part in the car's operation.